healthy eats

Spiced Tuna Steaks

Oh baby, baby, how was I supposed to know, this TUNA WOULD BE FIYAHHH.

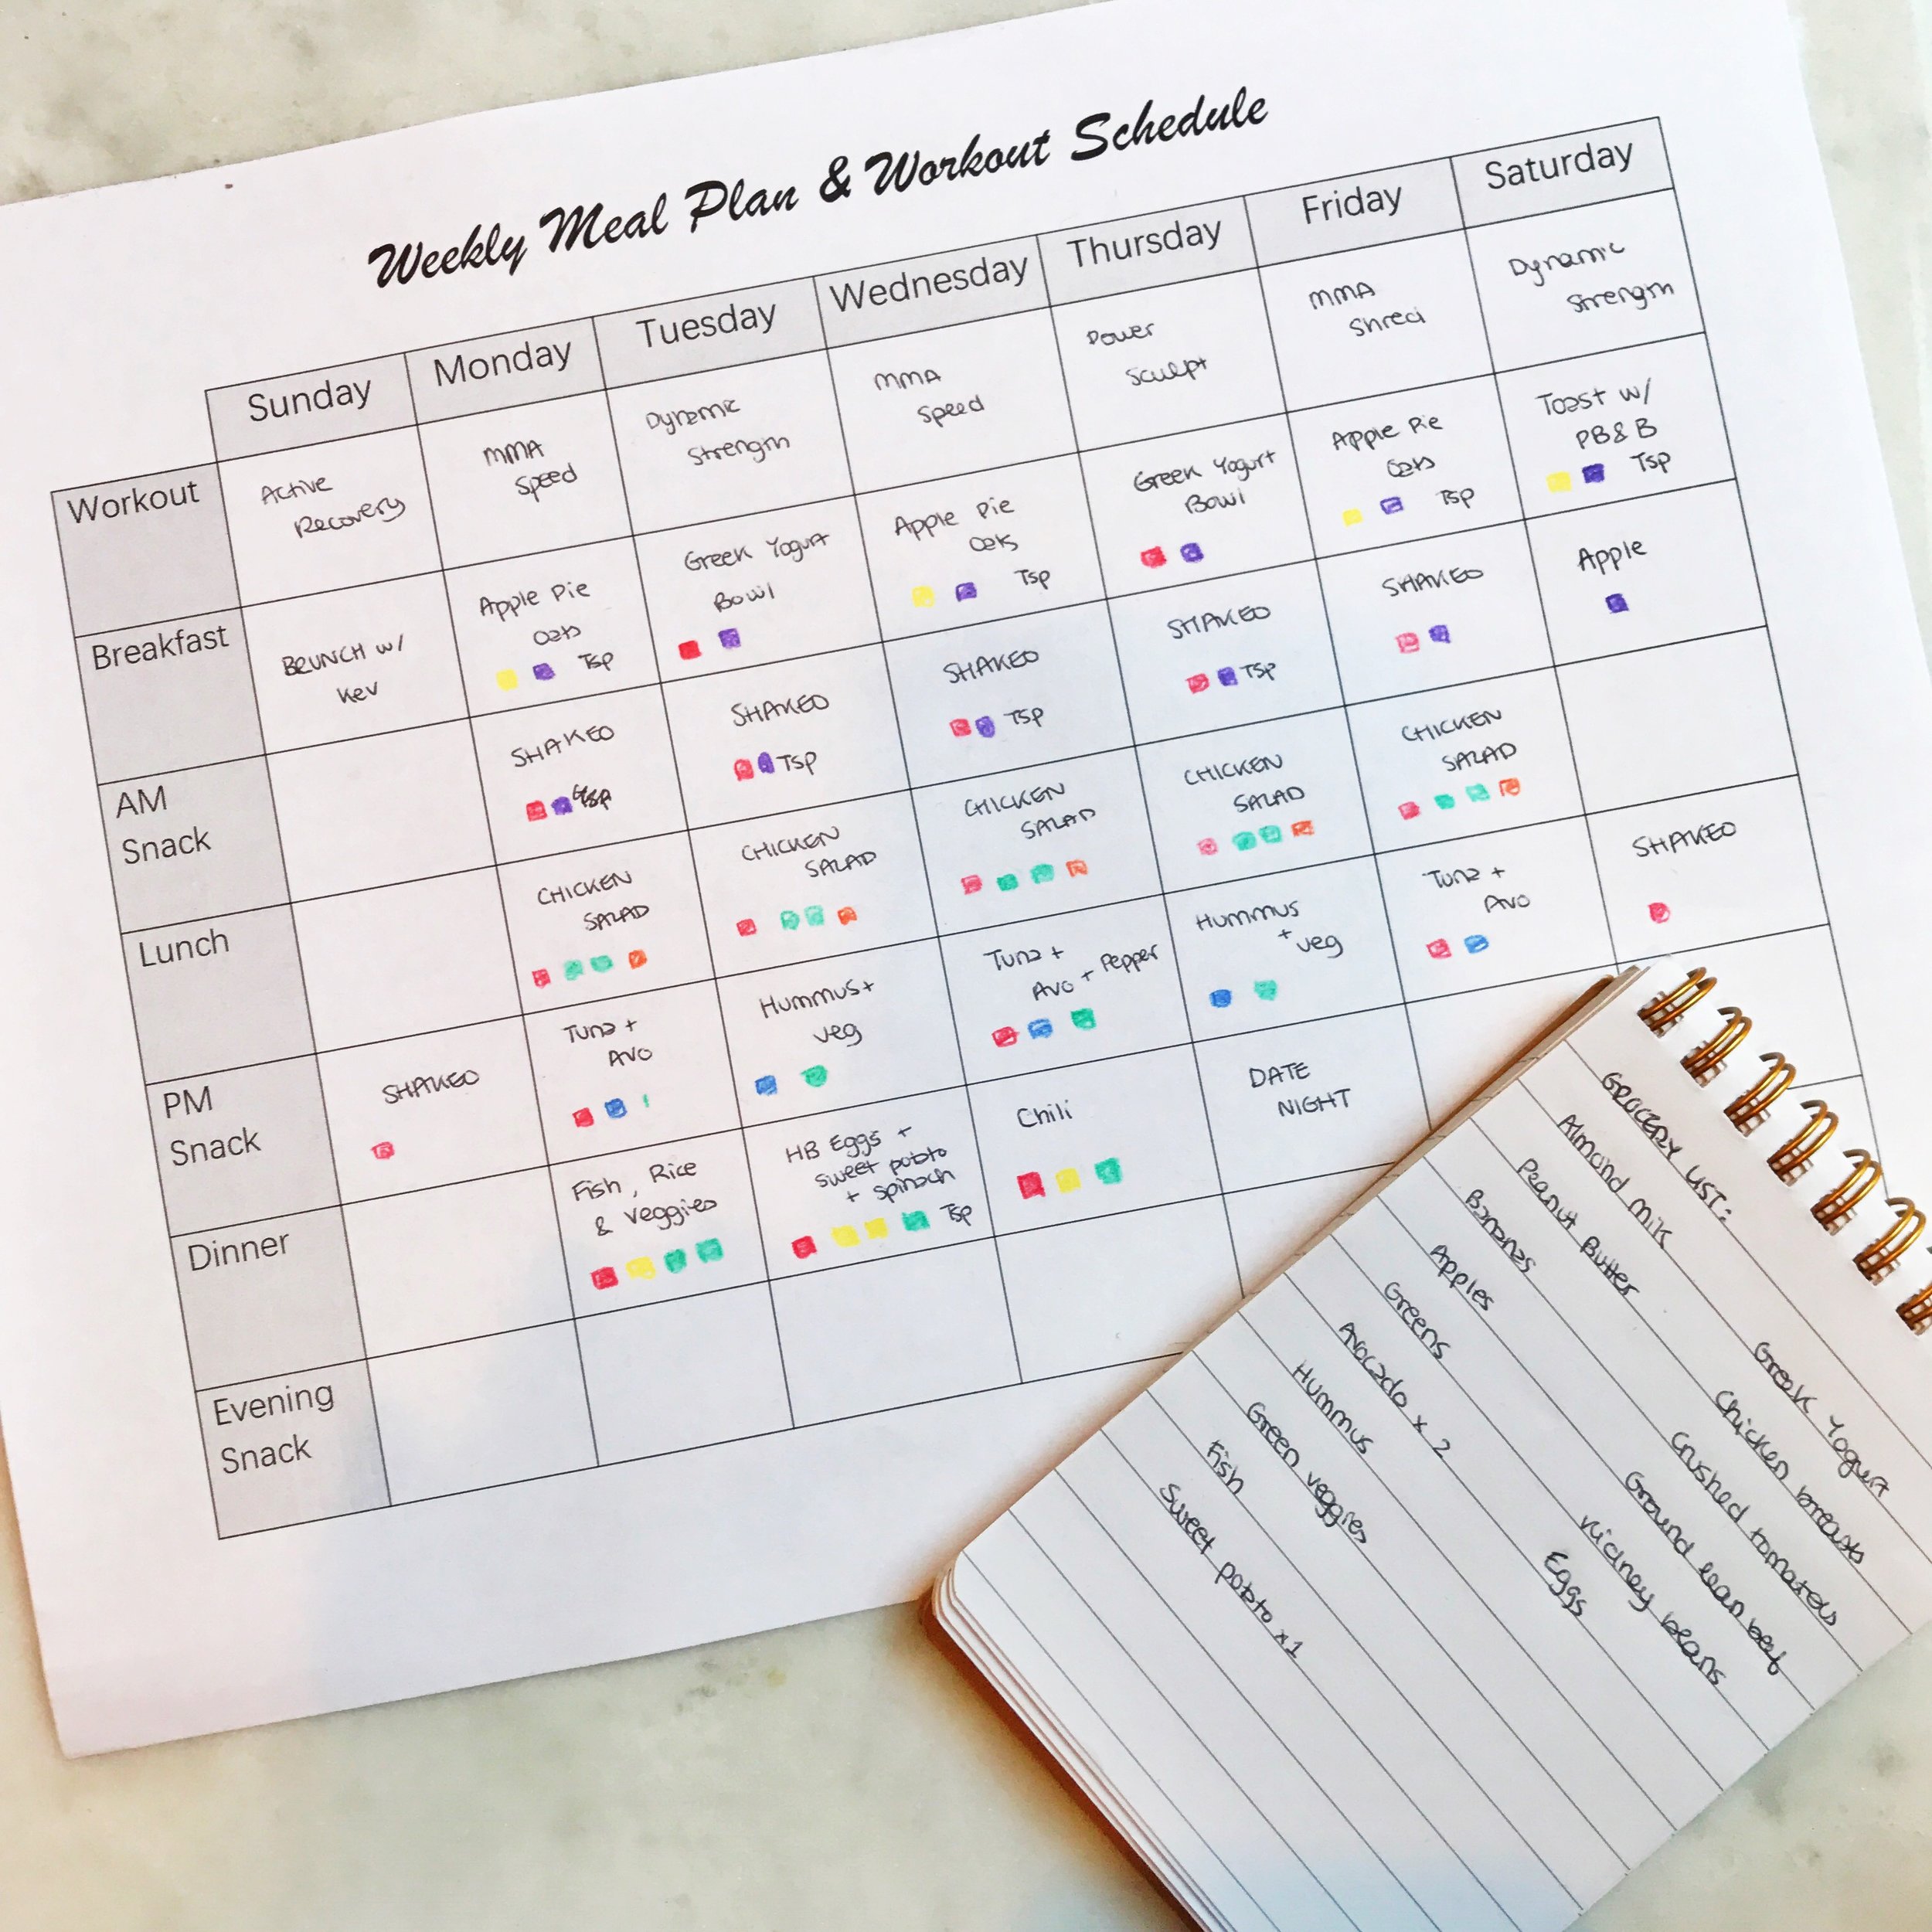
Ok, ok, all Britney sangin' aside, I've been experimenting a bunch in the kitchen lately because of this amazeballs new meal plan I've been rocking in my Live Your F*ck YES Life challenge!!!

YES, it's a meal plan, but I'm really calling it more of a "fuel plan". It's based on portions and macros and my body has been feeling IN-FUCKING-CREDIBLE. 

I'm allll about intuitive eating and listening to your body, but this type A recovering perfectionist is also ALL about some structure when it comes to my nutrition or else the binge monster comes out to play. So this has been HUGE. And the food is SO FREAKING DELICIOUS.

My mindless snacking is gone, bloating GONE, my skin has cleared up and I not once have felt like I was "on a diet" or "eating clean". You know how much I hate that shiz.

The key? FUEL YOUR BODY. 

Eat shiz that is GOOD for you, and lots of it. 

The weight loss, JOY in your heart and energy is just a rocking side effect ;)

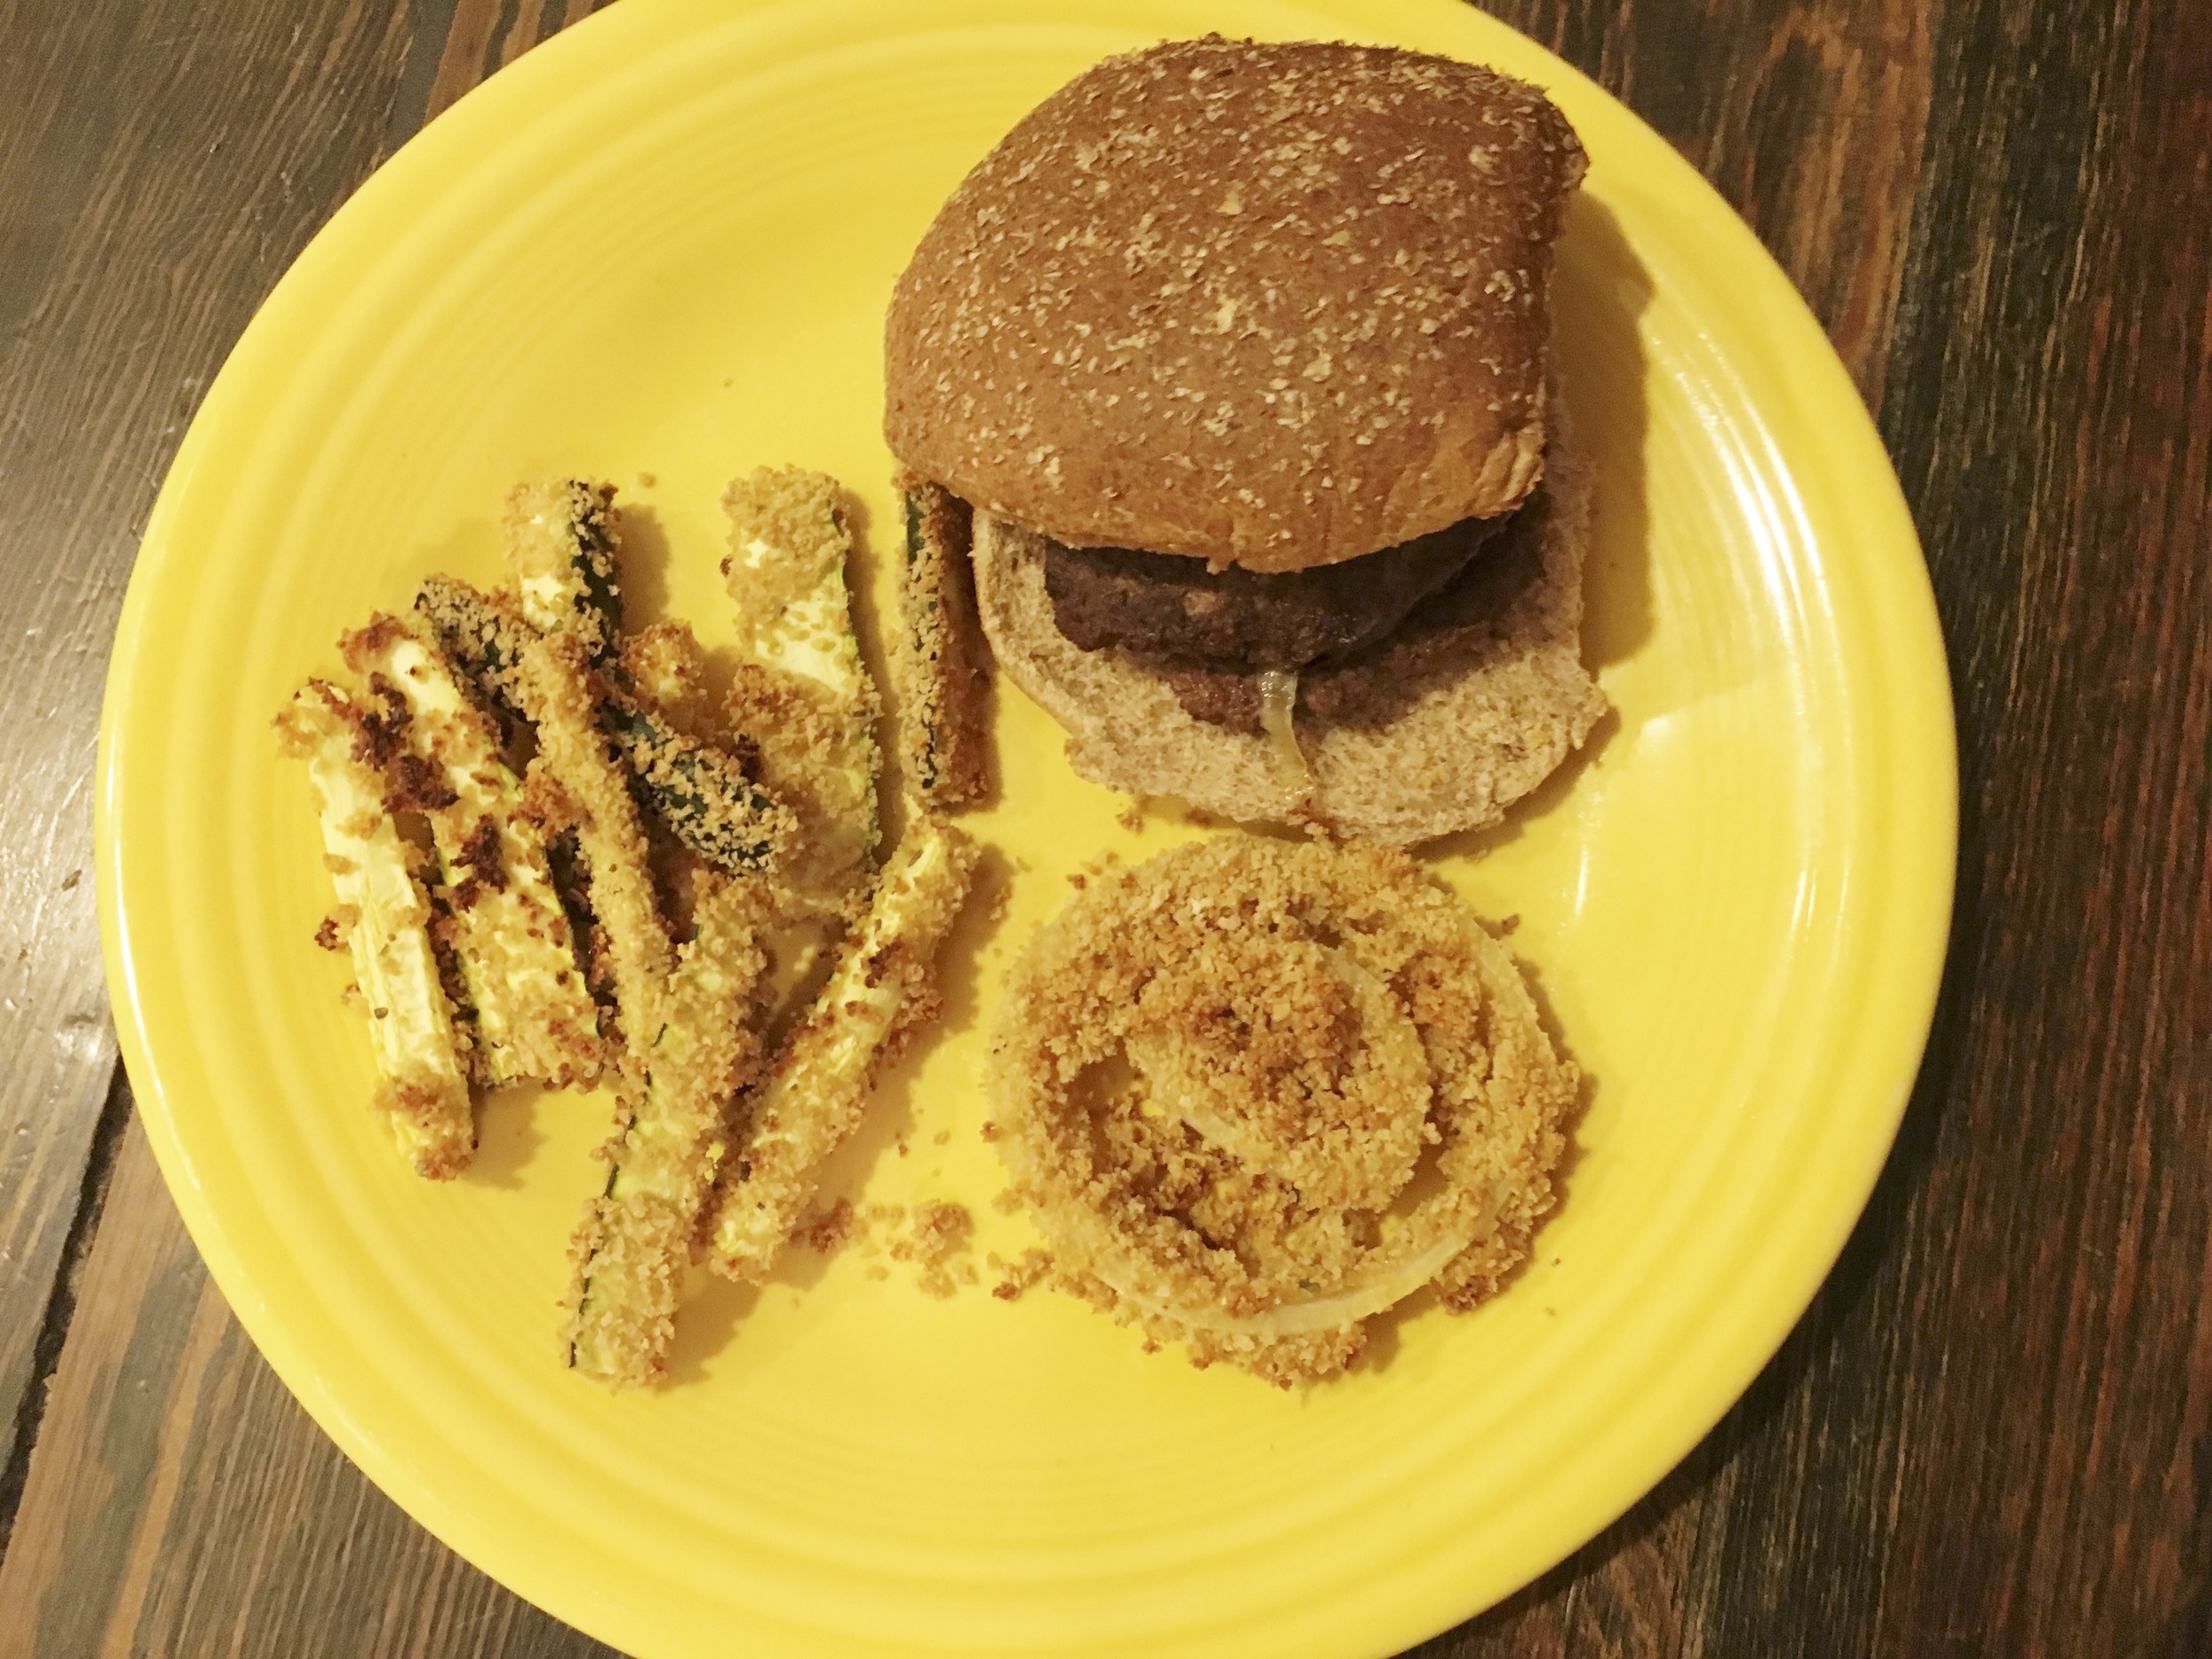
And this bad boy is officially becoming a staple at the Loy household -- you KNOW I'm all about those omega 3s and it's hubby approved sooooo it's staying.

IMG_3487.JPG

SPICED TUNA STEAKS

Serves 4, Prep and Cook time: 25 minutes


INGREDIENTS

4 raw tuna steaks (approx. 1 inch in thickness)

4 cloves garlic, crushed or minced

2 tsp. lemon zest

2 tbsp olive oil

2 fresh tarragon sprigs, chopped

Sea Salt and pepper to taste


DIRECTIONS

  1. Preheat broiler or grill on high

  2. Combine garlic, lemon, tarragon in a bowl and mix well.

  3. Season tuna with salt and pepper. Drizzle with oil & rub spice mixture on the top of tuna steaks.

  4. Grill or broil tuna for 2-4 minutes on each side, or until desired doneness. (I personally like mine a bit more on the rare side so 2 mins per side was perfect!)

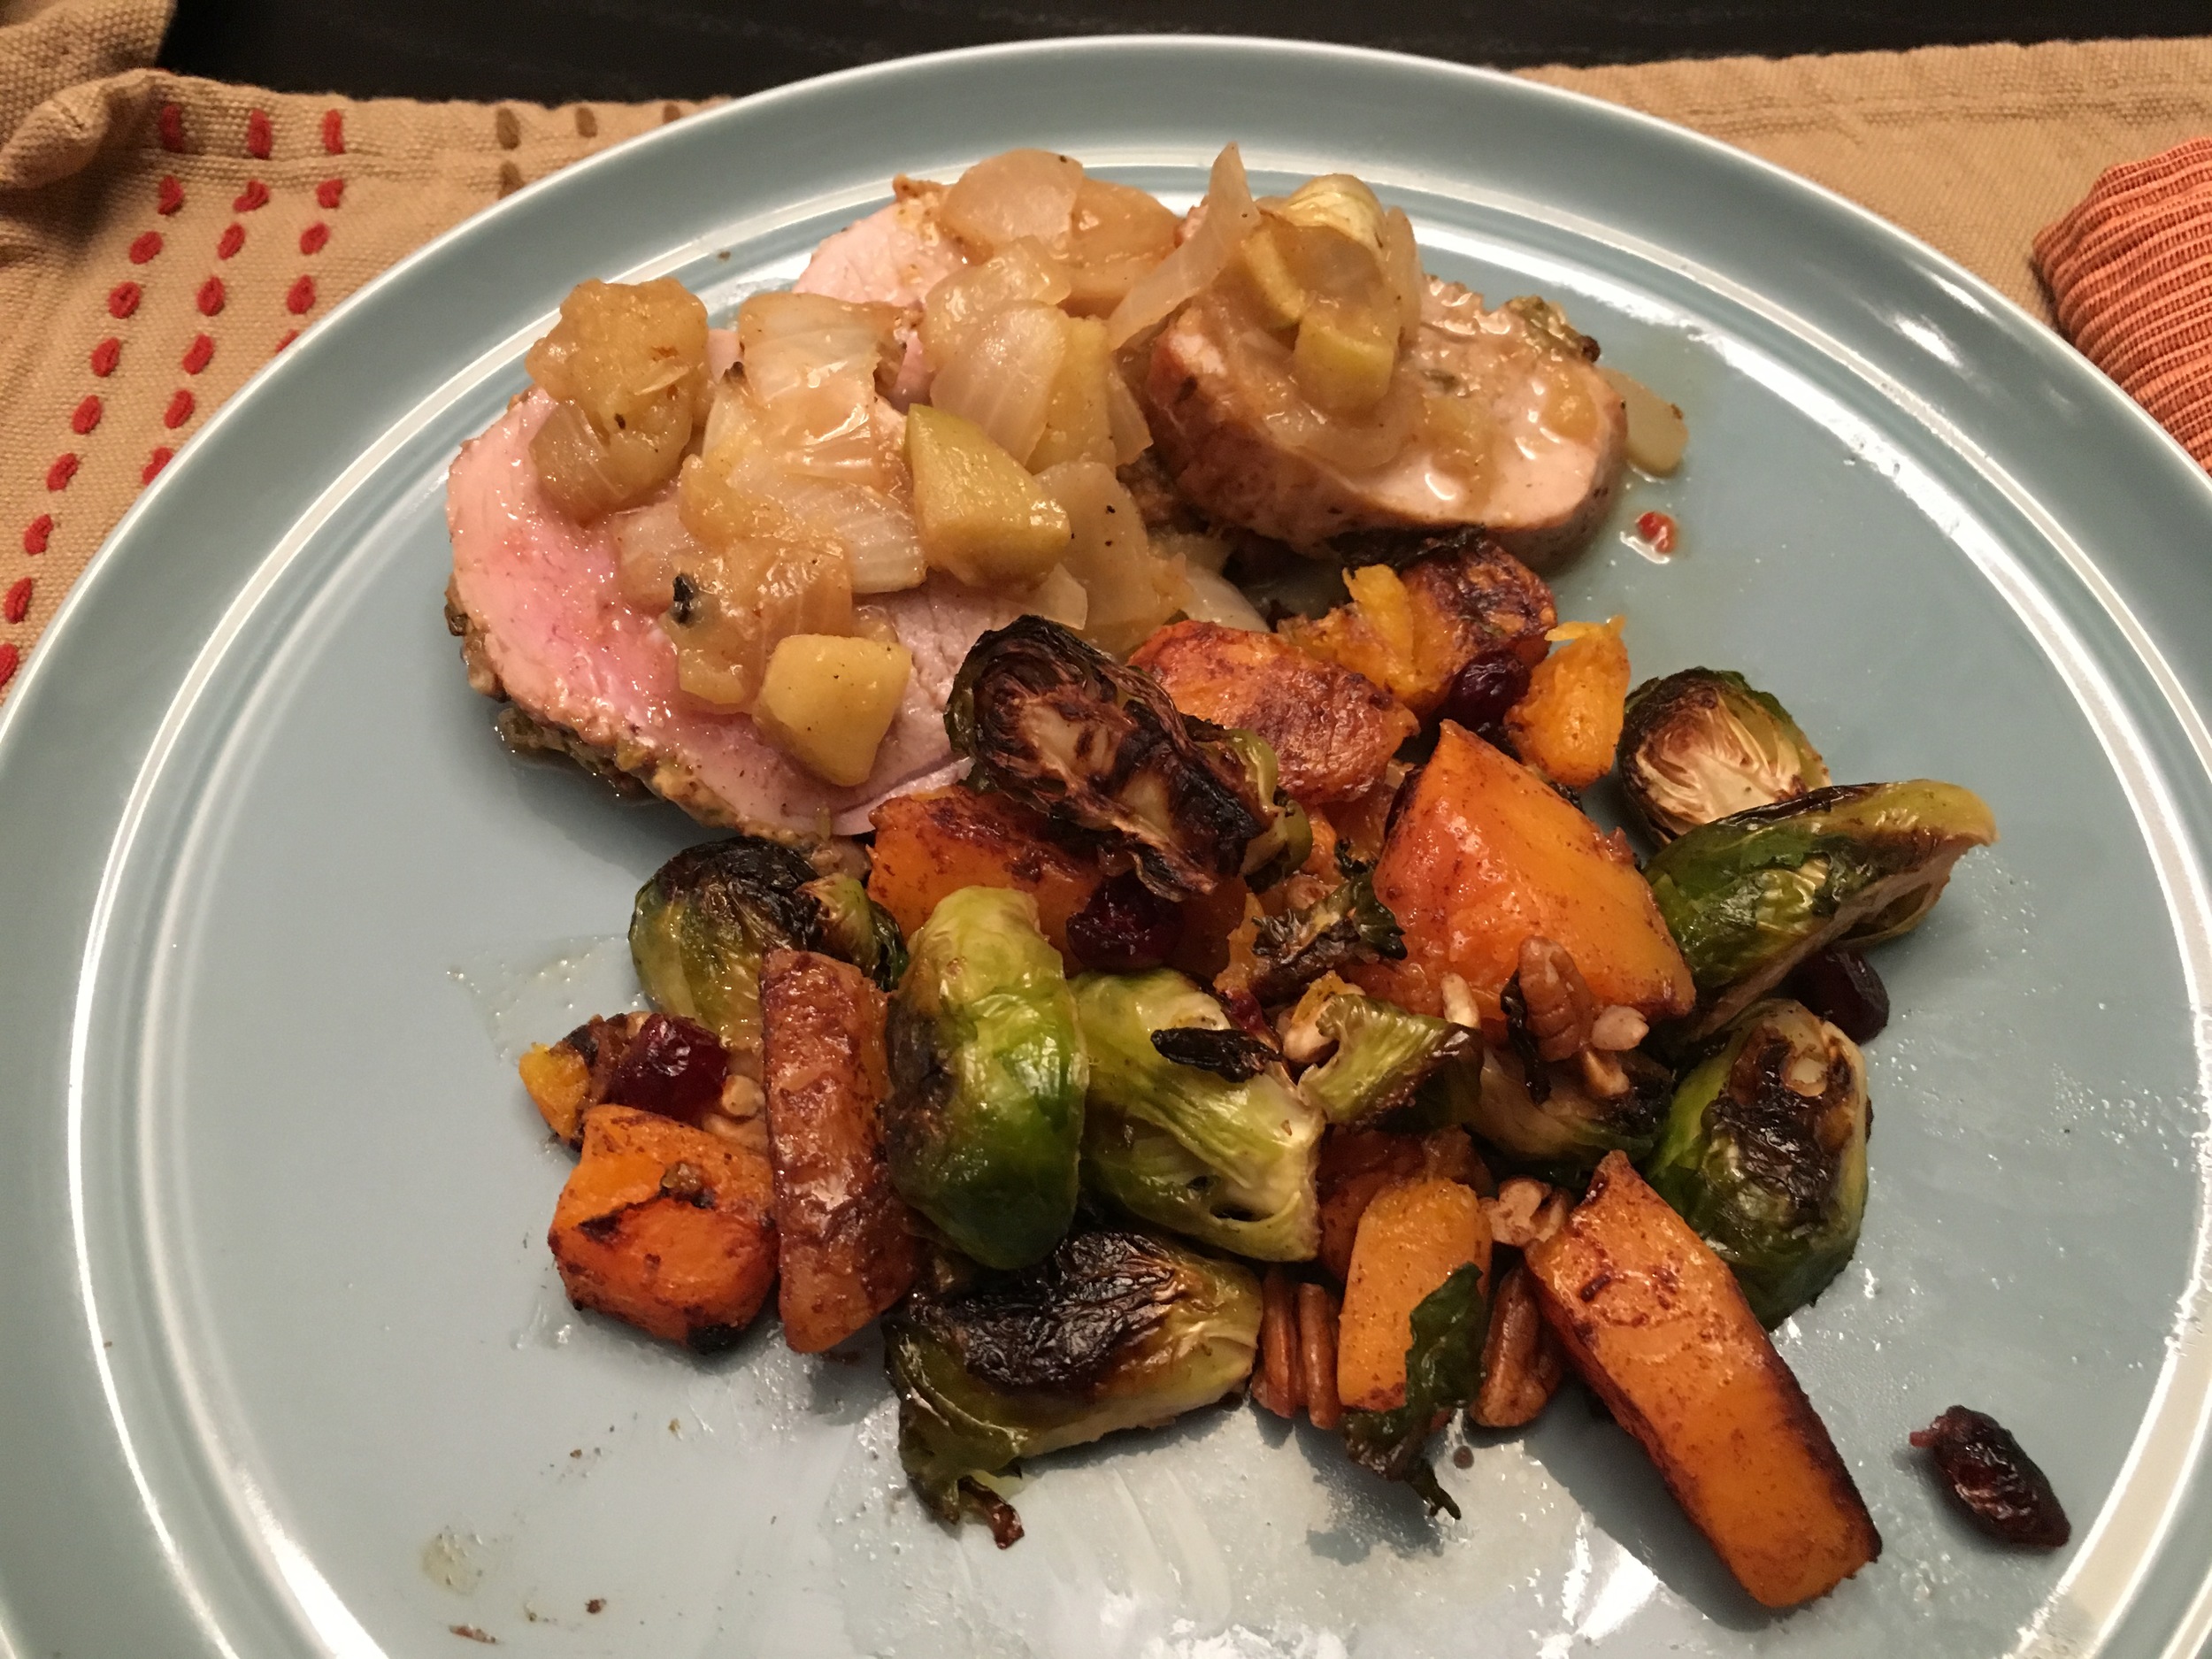
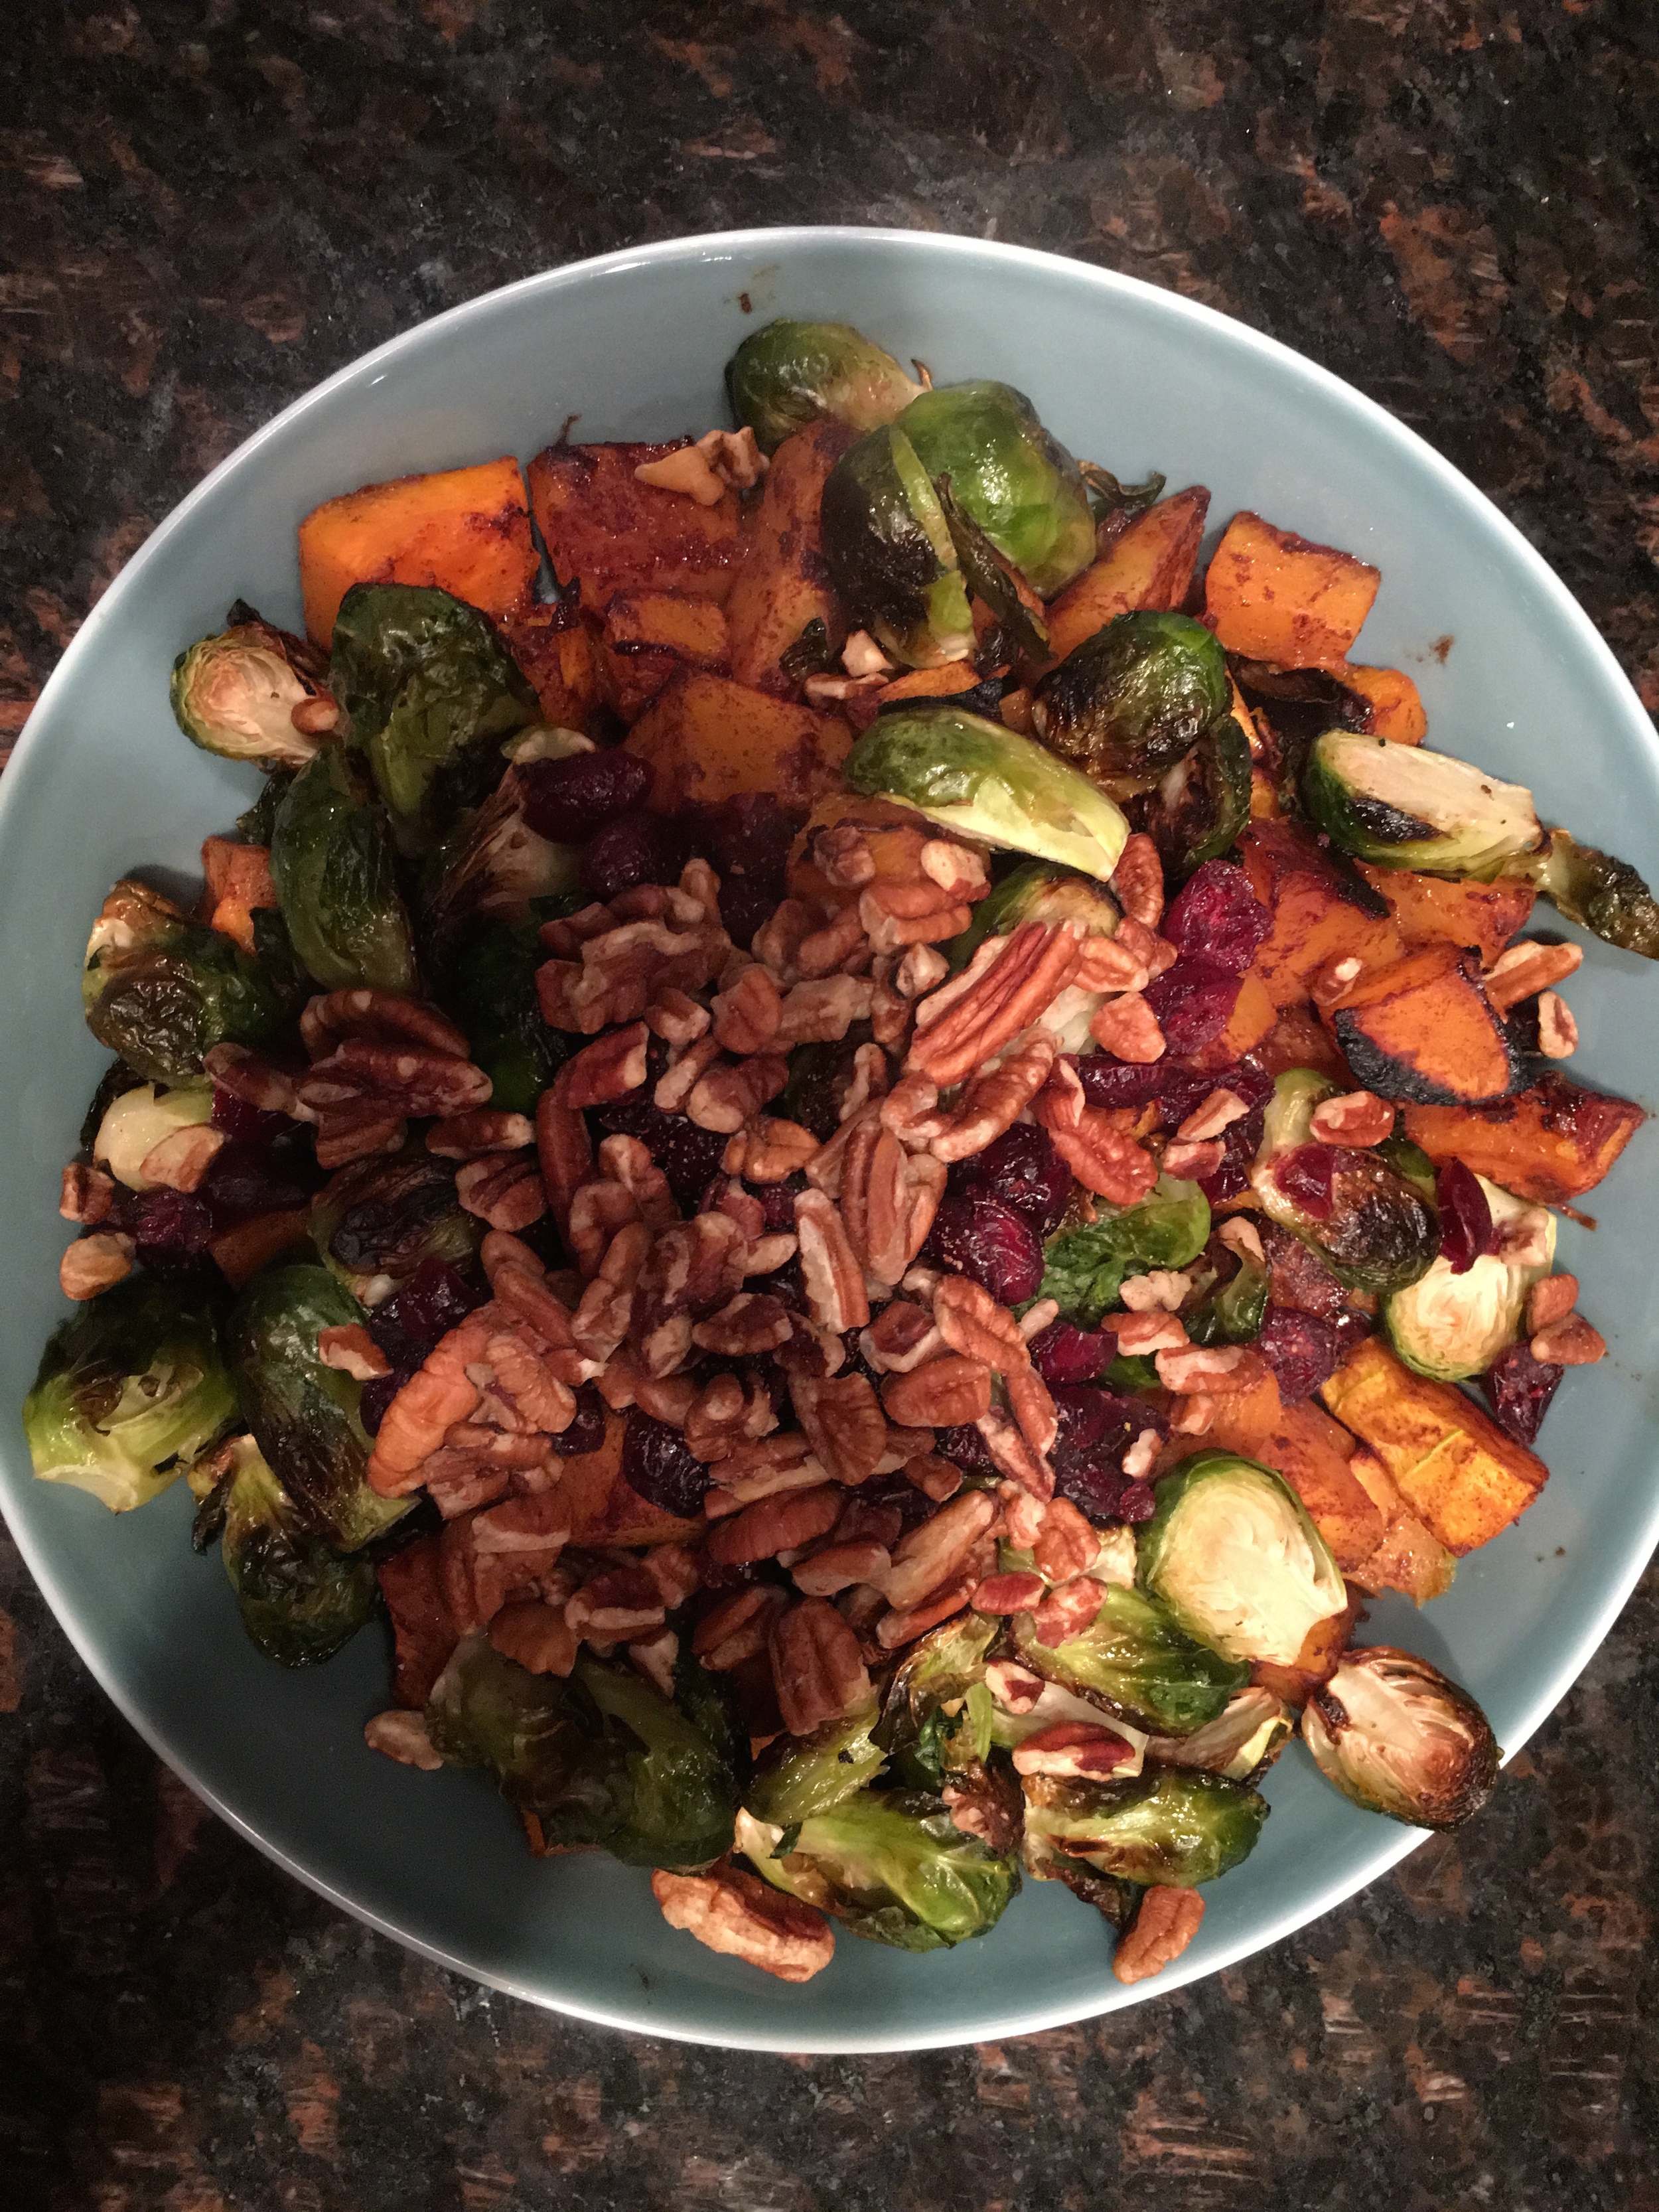
  5. Serve with your fave greens & some complex carbs for a full and delicious meal!

Busy Babe's Guide to Meal Prep

Let me guess.

You're two weeks into the new year and you are already starting to see your nutrition.

You had SUCH GOOD INTENTIONS to making this year your healthiest year yet. Losing those last 5-10 lbs. Feeling energized, amazing -- you were gonna SLAYYYYYYYYYY 2017.

But then life happened. And you got busy. And it's cold. And pizza.... I get it. I really do. I was right there with you.

But this year has been different.

For the first time in my adult life, I have come into the new year HAPPY, HEALTHY and so freaking energized. I'm rocking out my goals and feeling like a whole new woman -- and you wanna know why?

MEAL PREP.  

I know, I know, this may seem RIDICULOUS. That such a little thing could cause such a major shift. I thought it was ridiculous too! (probably why I didn't actually implement it for so long), but holy shitake mushrooms it has been the number one game changer for my health. 


So here are my top 10 meal prep tips for Busy babes just like you...

1. Have a PLAN

Make a list of your favorite healthy foods, choose simple (and delicious -- duhh) recipes that can be made quickly [Need some ideas? Click here to grab your Free Recipe E-book] and decide what you'll eat for every snack and meal. 

2. Stick to your Grocery List

"Fail to plan, fail to succeed" -- that's my motto when it comes to food shopping. I go into the grocery store with a PLAN. No throwing in those Reese's cups or your favorite chips into the cart -- if you don't have it in the house means you are setting yourself up for success! (PSA: if there is chocolate in the house I WILL EAT IT. haha My hubby knows.) So stick to your list. And hopefully, if you're following a meal plan that promotes balance, your list will have some treats here and there anyways ;)

3. Keep snacks simple

When you're gearing up to make food for the week, it's best to keep snacks simple. Save time by choosing snacks that don't require a lot of time to put together -- my go tos? Fresh fruit with some peanut butter, hard boiled eggs, Shakeology and carrots and hummus! All DELICIOUS!

4. Look for shortcuts

Pre-chopped veggies & fruit (or just fruits that don't need chopping! I love me some apples and bananas), cooked lentils/garbanzo beans are a great complex carb to add to a meal and come ready to rock and tuna packets (in water) are a personal favorite of mine for a quick and easy protein option to throw on a salad or mix in with some avocado :) 

5. Cook everything all at once!

I spend about an hour a week on meal prep and you know how? Because I do it all at once! Roasting veggies, sweet potatoes and even chicken breasts can happen all at the same time -- which not only saves you time but also cuts down your utility bill ;) You know I've got your back.

6. Batch it out!

And better yet? Make big ol' batches of everything so you have plenty of healthy options on hand. Make a large batch of quinoa or brown rice (or whatever whole grain you loooove!) and bake a bunch of chicken breasts/lean meat/ground turkey at once, chop them up and keep them in the fridge for salads and dinners.

7. Pack your meals

Schedule time in your evening to pack your lunch and all of the meals you need for the next day! That way you aren't feeling rushed in the morning // inclined to just "go out to eat since it's easier"

8. Mix it up

I was so worried when I started meal prepping that it would mean eating the same, boring thing every day -- but it doesn't have to be like that! Give yourself OPTIONS throughout the week so that you can mix it up when you're feeling like it! I recommend having at least 2 lunch and dinner options. Start small and make simple changes (like swapping out your protein for dinner!) and once you get the hang of it, you can get more creative in the kitchen.

9. Crockpot that shit

If there's one kitchen appliance I cannot recommend enough, it's my crockpot. It is a lifesaver for busy babes like me and is GREAT for leftovers :) Here's one of my fave recipes from my girl Laura!

10. Remember WHY this is important to you

All of this meal prep -- it's not to make your life HARDER, it's to help you reach your health and fitness goals. To be less tempted to stop for fast food or order takeout. To have MORE TIME to do the things you love with the people that matter to you than spending your evenings cooking away. If you get clear on WHY healthy living is something that is important to you -- on how you WANT to feel, you will be more inclined to keep this meal prep game up -- and give you even more time to Push play and rock your workout ;)


What's YOUR why? Your biggest struggle when it comes to meal prep? I'd love to hear/guide you in the right direction! Share in the comments below or Contact me :) I'm always here for you!

Xo Amanda

p.s. Click the button below for some quick and delicious recipes that I put together just for you! 

Fall Inspired Oats

It's OFFICIALLY Fall in Chicago -- aka I got to wear pants and a scarf for the first time in MONTHS as this baby grandma is suuuuper stoked about it. Get this gal some big comfy knit sweaters, cute boots, scarves, apple cider, pumpkin pie (well really, pumpkin EVERYTHING) and she's as happy camper :)

And as soon as fall hits, I can't stop the oatmeal vibes. I didn't eat oatmeal for years (when I thought that all carbs were evil -- yup, true story) so I think it must be that my body just CRAVES them because it's making up for lost time.

And while I'm all about my go to Apple Pie Oats (check out #eatsbyamanda on Instagram for the recipe!), I was craving something different and this is what I came up with! 

FALL INSPIRED OATS


INGREDIENTS

Rolled Oats (1 Yellow uncooked for my fixers)

Frozen blueberries, handful

Pumpkin spice, 1 tbsp

Sprinkle of protein powder (I used Chocolate vegan Shakeo)


DIRECTIONS

1. Cook oats according to packaging 

2. Two minutes before they're fully cooked, add in the pumpkin spice, protein powder and frozen blueberries and stir.

3. Nommmmmmmm all the oatmeal!!!


Are you an oatmeal fan? 

Rosemary Dijon Pork Tenderloin

Soooooooo I've been slacking on the recipes -- I KNOW! And you guys have been asking for more and you know I gotchuu -- so I had a fun adventure at the grocery store and picked up some super simple and Summer friendly ingredients!

I am all about eating healthy on a budget -- and being able to make meals that can spread out throughout the week with leftovers and THIS does alllll of that. 

We got 4 meals worth for $6. YUP. Crazy sauce. It never ceases to amaze me how much money I save by eating well and planning out my meals. I used to think there was no way that I could eat healthy -- so many recipes would have all of these bizarre ingredients like himalayan salt, dates, coconut flour, you name it -- and I would buy something for a recipe and then never use it again. #wasteofmoney

So I am on a mission to create recipes that not only taste delicious but are also affordable. ENTER, Exibit A ;)

Ingredients

(Makes 4 Servings)

1 Pork Tenderloin

2 tbsp Dijon Mustard

1/2 tsp freshly Ground Black Pepper

1/2 tsp Sea Salt

2 tbsp Chopped Rosemary Leaves

1 Sweet potato

6 Collard Green leaves, chopped

2 cloves of Garlic, minced

Olive oil


Directions

1. Preheat oven to 350 degrees F.

2. Mix Dijon mustard, Black Pepper, Sea Salt and Rosemary together. Spread mixture over top of pork evenly.

3. Place pork on a cookie sheet covered with aluminum foil for 20 minutes.

4. Reduce temperature to 300 degrees F and continue roasting until a meat thermometer inserted into the thickest part reads 145 degrees F (it took me approximately 35 minutes). Once it's done, let it sit for 10 minutes with an aluminum foil tent.

5. Meanwhile, boil water in a pot and wash, peel and chop the sweet potato. Once the water is boiling, place sweet potato in the water for approximately 20 minutes (or until you can put a fork through the potato chunks!). Once it's down, drain the water and mash away! Add some rosemary and sea salt if you're feeling frisky!

6. In a pan on medium heat, sautee garlic in olive oil. Toss in the collard greens after a couple of minutes. Once they're getting crispy, they're ready to go!


For my Fixers: 1 Red, 1 Yellow, 1 Green

Are you a fan of Collard Greens? I recently got into them and I'm IN LOVEEEEE!!


Because Burgers can be Healthy Too

With the warm weather starting to hit, I don't know about you but I really start getting the major urge to have a good, juicy burger. So when Kevan suggested that we make our own last week, I was DOWN for the task of finding a way to fit it into my healthy meal plan.

Don't get me wrong, I'm ALL about indulging in the occasional burger, because, let's be honest, Chicago is home to some of the BEST I've ever had, but I was excited to tickle my recipe brain again and see if I could whip up something delicious and that feels indulgent but is actually super healthy!

And I have to say, I'm pretty freaking proud of what I came up with. And it fit completely into my whole foods portion control meal plan that I've been following this month! 

BURGERS FOR THE WIN

Makes 4 Servings

Ingredients

100% Grass fed beef, 1 pound

Whole wheat burger buns (or you could use lettuce!)

2 small Zucchinis

1/2 Spanish Onion

Whole Wheat panko bread crumbs (normal bread crumbs work just fine too!)

Egg whites

1 tbsp Garlic Powder

Italian seasoning (optional)

Sea salt

Pepper

Directions

1. Preheat oven to 400 F and get cover two cookie sheets with aluminum foil

2. Cut zucchini in "fry like" shape and chop onion in half and separate into rings.

3. In bowl, mix together the Bread crumbs, Garlic powder and Italian seasoning. In separate bowl, place 4 egg whites. 

4. Dip each zucchini fry and onion ring in the egg whites. Then, place in the bread crumb mixture, making sure to thoroughly coat before placing on the cookie sheets.

5. Once all of them are coated with bread crumbs, place in the oven for 20-25 minutes (or until browned and crunchy)

6. While the veggies are baking, mix the ground beef with salt and pepper, to taste, before forming them into patties. 

7. About 5 minutes before the fries are ready to come out, start cooking the patties on a heated and oiled cast iron skillet (about 30 seconds per side, if the heat is right) -- also DELICIOUS grilled!

8. Serve on a toasted whole wheat bun (or using a big lettuce leaf as the "bun" if you've had your daily carbohydrates earlier in the day) add mustard, veggies if you like, pickles if you're like me and you're good to go!!!!!!

For my Fixers (per serving): 2 Yellow (if you're using the bun), 1 Red, 1.5 Green

A delicious alternative to "fast food", am I right?

And the BEST PART? All of this cost $6!!!!!!!!!!!! For 4 WHOLE ENTIRE MEALS. Whoever said eating healthy (and deliciously) cost more money than eating out/fast food is a liar I tell you, a LIAR!!!! 


Glazed Asian Mahi Mahi

Les poissons....les poissons...hee-hee-hee hon-hon-hon

If you get that reference, you're officially my favorite. And if you don', that's okay, I still like you, I promise! So I know that I live in the Midwest and all that but here's the thing, this girl likes her Fish. I could probably eat seafood every single day but let's be honest, it's a bit pricey (and thus unrealistic) to be consuming it seven days a week, but I still try to get it in as often as I can. What I love about Mahi Mahi is that it can be prepared so many ways and is relatively inexpensive compared to most other fish, so when I saw it at the grocery store, I just HAD to snag it.

Okay guys. I gotta say, this one's a goodie. I just decided to have fun and test the waters and this really turned out AH-mazing. I mean, I'm not trying to toot my own horn here, but it's delicious and it literally takes 30 minutes, start to finish. If that's not a dream, I don't know what is! Hopefully you guys enjoy it as much as I did! 

Drumroll.......... Duh duh duh duh! 

IMG_7016.jpg

GLAZED ASIAN MAHI MAHI

Makes 2 servings

Ingredients

- 2 Mahi Mahi filets, of equal size

- 1 Tsp of Crushed fresh ginger

- 2 cloves of Garlic, minced

- 2 Tbsp Olive oil

- 3 Tbsp Honey

- 3 Tbsp Balsamic vinegar

- 3 Tbsp Tamari (I use this instead of Soy sauce, but they taste similar)

- 1 Tsp Coconut Oil

- Salt and Pepper to taste

- Optional: 2 Baby bok choi

Directions

1. In a shallow bowl, mix together tamari, honey, balsamic vinegar, ginger, garlic and olive oil. Place fish in bowl & cover and refrigerate for 15 minutes.

2. Meanwhile, wash and separate the leaves from the baby bok choi. Pat dry. [While you're cooking the fish, sautee the baby bok choi in a separate pan on medium heat in a little bit of oil. Cook until tender.}

3. Heat coconut oil in a large skillet over medium-high heat. Remove fish, but hold onto the marinade (to be used later!). Place fish on skillet for approximately 5 minutes on each side, ensuring that you turn it only once. Once the fish flakes easily with a fork, remove from heat to a serving platter and keep warm.

4. Pour saved marinade into the skillet and heat on medium-heat until it turns into a glaze like consistency. Spoon glaze over fish and voila! 


The Cookie to win all Potlucks

Holy wow, how is Christmas next week? Is it just me or do you feel like it literally snuck up on us more than usual this year. Normally, I've got a countdown going starting in November, and I'm listening to Christmas songs wayyyy earlier than any normal human being should. For reals, guys, Christmas is my holiday. I get just giddy thinking about it.

But for some reason, this season thus far has felt really different. And I've been thinking a lot about why that's the case. For one, the weather has been so out of whack here in Chicago. It has snowed once and it was over a month ago, so I don't feel like that really counts. And it has been unusually warm. I seriously keep thinking it's November. Nope, definitely December, Amanda. Definitely December. Also, I feel like I normally have had holiday parties to attend and Christmas-y get togethers and so far this year, I haven't really had one. [No, this is not me throwing myself a pity party, it's just the cold hard facts. People are slacking on the Christmas parties up in my hood! What's a girl gotta do to have a reason to break out the tacky Christmas sweaters with the pompoms on them? *Le Sigh*]

So yeah, long story short, it has just not felt like Christmas. 

And I was getting really bummed out about it all. But here's the thing. Christmas/Channukah/Kwanza/whatever you may celebrate isn't about the parties you go to or the snowstorm that comes your way. It's about a feeling. A feeling that just doesn't seem to exist at any other time of the year. For me, it's this heart-fluttering-giant-smiles-giving-warm-fuzzy-joy-feeling inside my soul. And goddamnit I wanted that feeling!!

So, I blasted my Ella Fitzgerald Christmas cd, turned on the Christmas lights, got Christmas cookies baking in the oven and got all of my presents wrapped. And there was that feeling.

So, I guess all of this is to say that if your life isn't bringing you the holiday warm and fuzzies, make them appear. You know what makes you giddy, so do those things and give yourself some holiday lovin'. You deserve it.

OK, now for the Good Stuff.

THE ULTIMATE POTLUCK COOKIE

I love these cookies. They are so healthy and a constant hit at any and all potlucks I attend. People have no clue that they're eating a cookie that is good for them AND delicious! Bonus? They literally take 5 minutes to make, easy, peasy, cookie!

Ingredients

2 bananas

1 cup oats

1/4 tsp vanilla

1 tsp pumpkin pie spice (or 1 tsp cinnamon & 1/4 tsp nutmeg)

Dark chocolate

Optional: walnuts 

Directions

1. Preheat oven to 350 degrees F.

2. In large bowl, mash bananas until consistency is smooth

3. Stir in oats until completely mixed together

4. Add pumpkin spice and vanilla and mix until it is evenly covered. Then add dark chocolate chunks/chips and optional walnuts and do the same.

5. Using a tablespoon, spoon cookie mix onto a cookie sheet

6. Bake for 12-15 minutes, or until cookie is baked to your desire! 


Asian Inspired Veggie Medley

I have been on an Asian food kick lately -- well, really all my life I guess, but for the past few years, I didn't really think I could incorporate Asian food into my diet in a healthy way {other than stirfry, but let's be honest, a girl gets tired of stirfry after a while, am I right?}

When  I was a kid, we did take out once a week, every Friday night. It was our family night (something I plan on incorporating into my family when we have kids of our own) & I looked forward to it every week. We would order from this little hole in the wall Chinese restaurant and I would fill my tummy with plain lo mein noodles, beef & broccoli and chicken wings. All, of course, while playing a very intense round of Sorry, Clue or whichever board game we were obsessed with at the time.

And while I am all for takeout every once in a while {the past few years, I have become a huge Indian food fan. Holy wow their veggie entrees are amazeballs}, when I started becoming more conscious of my health, I was so taken back by the lack of nutritional value found in Chinese food. So, for a long time into my quest towards a healthier me, I stuck to very simple clean meals. Boiled or baked chicken, steamed vegetables, the occasional brown rice or quinoa. But guess what? Turns out eating like that gets old FAST, and I've learned that eating healthy doesn't mean eating boring foods. It has actually opened up a world of spice and unique blends of ingredients that have changed my world and my relationship to food.

For all of my Chinese foods lovers (and veggie/vegan heads), this might be the recipe for you.

Asian Inspired Veggie Medley

Makes 2 servings

Ingredients

- 2/3 of Cooked quinoa 

- 4 big handfuls of brussel sprouts, ends cut off and chopped in half (in my opinion, you can never have enough)

- 1/2 head of a small red cabbage, sliced 

- 2 tbsp. Sesame oil

- 1 tbsp. Rice vinegar

- 1 tsp. Tamari (a lower sodium version of Soy Sauce)

- Optional: Any other veggies you love (ex. water chestnuts, shredded carrots), Extra firm Tofu, sesame seeds

Directions

Heat 1 tbsp of Sesame oil in a skillet on medium to medium high heat. {If using tofu, press the water out of it by using a paper towel and applying pressure. Then cut into cubes and sear in skillet until brown on both sides}. If you're not using tofu, toss the brussel sprouts into the skillet for 5-7 minutes.

Meanwhile, have your quinoa cooking in a separate pot. My personal preference for cooking it? Add uncooked quinoa and double the amount of water into a small pot. Turn on high heat until it reaches a boil & then put heat to low and cover until water is gone (usually about 7-10 minutes).

In a separate bowl, add remaining sesame oil, rice vinegar and tamari.

Once the brussel sprouts have started to brown, add the red cabbage (and any optional additional veggies). Let cook for 2 minutes before adding remainder of the sauce. Let simmer until vegetables are cooked to your liking. Personally, I like them not to lose all of their crunch so I let it go for 3-5 minutes more.  If you're feeling fun, sprinkle some sesame seeds overtop of the medley the last minute that they are cooking!

In a bowl, place 1/3 cup cooked quinoa and half of the veggies and VOILA, you've got a nutritious & delicious Asian inspired meal!


My Hubby's Chili

It is getting colder and the holidays are upon us! Maybe it's the Canadian in me, but I love this time of year. The first snowfall. Christmas lights. Hot chocolate. Big chunky wool scarves. It's all so magical. It's always around this time of year that I start craving comfort foods. And for me, one of my favorite comfort foods in the winter months has always been Chili. It's just leaves you feeling so warm & cozy.

I'm a lucky lady. My hubby is an amazing cook, and he has taught me a lot about being unafraid to spice things up in the kitchen. And holyballs his Chili is amazing. And best of all? It's HEALTHY! *cue the applause* I would be doing you all a huge disservice if I didn't share the amazingness of this recipe because man, oh man, you won't know what hit you. 

Chili of the Gods

Makes 4-6 Servings

Ingredients

- 16 oz of Ground Turkey /or/ Ground Grassfed beef 

- 2 cans of Crushed tomatoes

- 2 Serrano peppers

- 1 Jalapeno pepper

- 2 cans of Kidney beans, rinsed

- 1 large onion, diced

- 3-5 cloves of garlic, minced (We like lots of garlic, so feel free to put less if it's not your thing)

- Seasonings: Cayenne, Cumin, Chili powder, Oregano

- Optional: carrots, red peppers

Directions

Heat 2 tbsp of coconut/olive oil in a large pot on medium-medium high heat. Add onions and cook until it is soft and translucent, about 3-5 minutes. Add in the meat and break it up as it browns. Clear a space in the middle of the pot & add in garlic, hot peppers and other optional veggies. Cook until garlic is fragrant, about a minute, and then stir into the meat and onions. 

Add seasonings to your liking. We like things well spiced, so our measurements are usually 1 tbsp Cayenne, 2 tbsp chili powder and oregano and 3 tbsp of cumin. A pinch of sea salt for good measure is also 100% an option!

Add crushed tomatoes and kidney beans to the pot and stir until mixed together. 

Reduce heat to low and allow to simmer for no less than 30 minutes. It's important to let it simmer so that all of the flavors mix together properly! Trust me, THAT'S the secret to a perfect chili.


Bonus? If you're cooking for two, you have leftovers for the week! Double bonus? Your belly is happy and you've made yourself a nutritious meal! What could be better?


Pork Tenderloin with Butternut Squash and Brussel Sprouts

Although fall seems to be fleeting and Chiberia seems to be starting to return in full flesh here in Chi-town, I refuse to let go of my favorite fall staples in the kitchen. Because, let's be honest, fall is the best season and I just want everything to taste like fall forever!

I've spent the past four days slaving away in the kitchen for Friendsgiving. In my house, American Thanksgiving is always spent with our friends that have turned into family. We always have our core group of friends, and we also open our house up to anybody we know who doesn't have anyone to spend the holidays with. Because, let's be honest, nobody should be sitting at home alone, watching Netflix and eating a Lean Cuisine turkey dinner for one on Thanksgiving. No, No, NO! It should be filled with Football, Foursquare (or at least, it is in my house), my homemade pumpkin pie and all the turkey ever -- followed of course by a couple of naps in between the inevitable board game playing. It's official, I'm an old lady.

After fully indulging through the holiday, I'm limiting my wine to Wednesdays and the weekend (balance!) and I'm doing my best to stay on top of my clean eating. Luckily, it is pretty easy to turn my comfort foods into healthy options! Here's one of my favorite recipes that I officially nailed this week in the kitchen. It feels like you're indulging because it tastes so goddamn good but it's healthy and super easy to do!

Pork Tenderloin with Roasted Apples and Onions

Serves Four

Ingredients

- 1 large pork tenderloin (about 15 ounces)

- 1 tbsp Dijon mustard

- 1 tbsp whole grain mustard

- 2 tsp fennel seeds (optional)

- 1 large onion, sliced

- 2 medium Granny smith apples, peeled, cored and sliced (about 1/4 inch thick)

- 1/2 cup of apple cider 

Directions

Preheat oven to 450 degrees F. Season pork with a dash of sea salt and pepper.

Heat 2 tbsp of olive oil in large nonstick ovenproof skillet over medium-high heat. Add pork and sear until all sides are brown (about 5 minutes). Transfer pork to plate and cool slightly, spreading combined mustard over top and sides of pork (optional: press fennel seeds into mustard). 

Add a tbsp of olive oil, onion and apples into pan and sauté over medium heat for about 5 minutes. Place pork on top of mixture and transfer skillet to oven until the centre of the pork registers 150 degrees F, about 15-20 minutes. Transfer pork to platter and make a foil tent to prevent moisture from escaping.

Meanwhile, pour apple cider over apple-onion mixture in skillet. Stir over high heat for about two minutes, until slightly reduced. 

Slice pork and spoon apple-onion mixture overtop of pork for a nice finish!

Butternut Squash & Brussel Sprout side dish

This can go in alongside your pork, so have all your veggies prepped and ready to go!

Ingredients

- Brussel sprouts, the more the merrier

- Butternut squash, peeled, seeded and cubed (You can buy pre-sliced ones at the store!)

- 1/4 cup Pecans

- 1/4 cup Dried cranberries

- 1 tbsp Maple syrup

- 1 tbsp Cinnamon

- Olive oil

Directions

Trim your ends to your brussel sprouts & then slice them in half. In medium bowl, combine sprouts, a little olive oil and toss to combine. Place onto a foil-lined cookie sheet and roast in oven for about 20-25 minutes. Make sure to check on them at about the 15 minute mark and shift them around a bit to even them out for browning.

In another bowl, combine cubed butternut quash, 1 tbsp of olive oil, maple syrup and cinnamon and toss to mix. Place squash on a lightly oiled foil-lined baking sheet. Baking for 20-25 minutes, turning once half-way through the baking process. [For fastest results, bake them side by side!]

Pour out your sprouts, your squash, your pecans and your dried cranberries into a bowl and mix it around. Serve warm!

Nutritious, delicious & husband approved! What could be better?

You up for the challenge? Make the recipe and comment below!